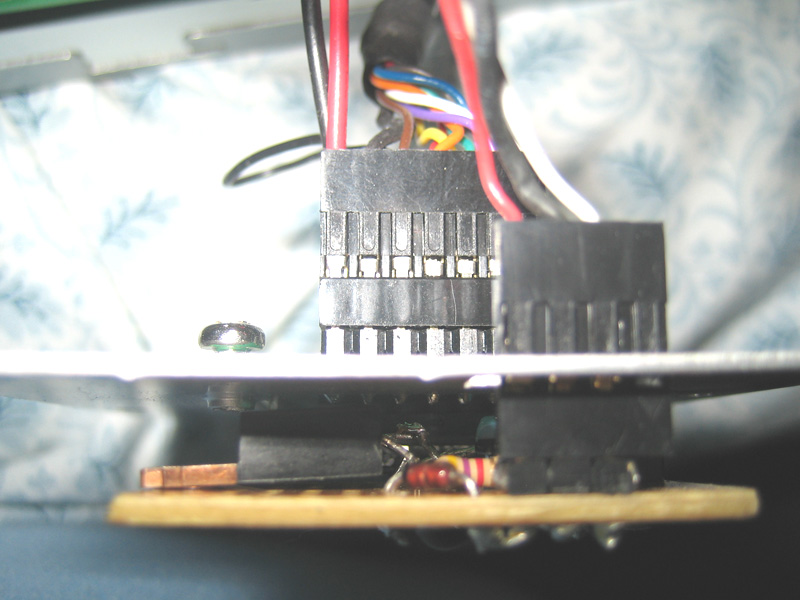
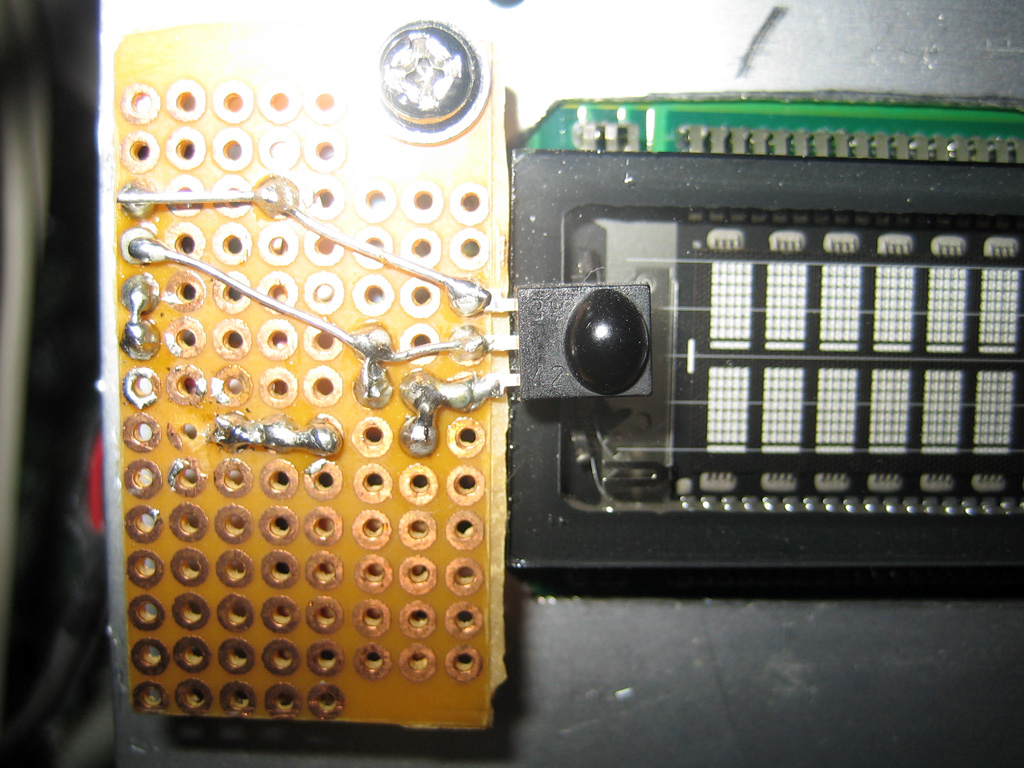
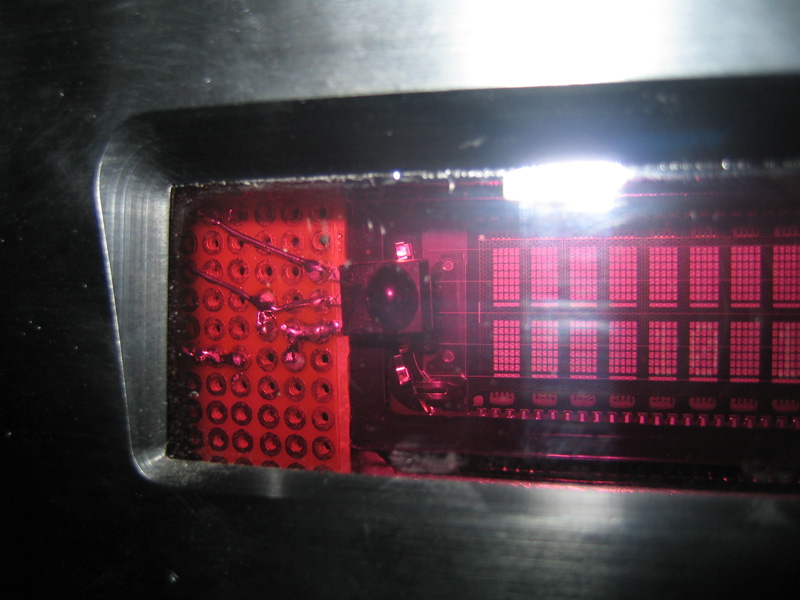
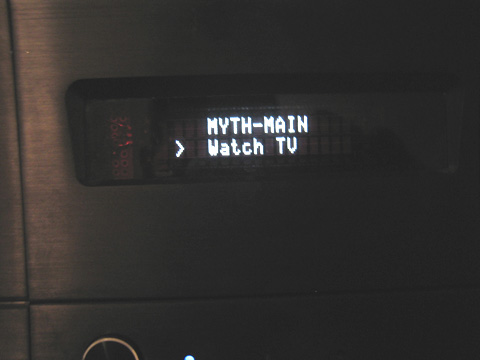
(→Sample Images) |
|||
| (31 intermediate revisions by the same user not shown) | |||
| Line 48: | Line 48: | ||
== Diagram == | == Diagram == | ||
| − | [[Image: | + | [[Image:Lirc-rs-homebrew.gif]] |
| + | <br> | ||
| + | ''Note:''<br> | ||
| + | ''Pin 1 = DCD''<br> | ||
| + | ''Pin 5 = GND''<br> | ||
| + | ''Pin 7 = RTS''<br> | ||
| + | |||
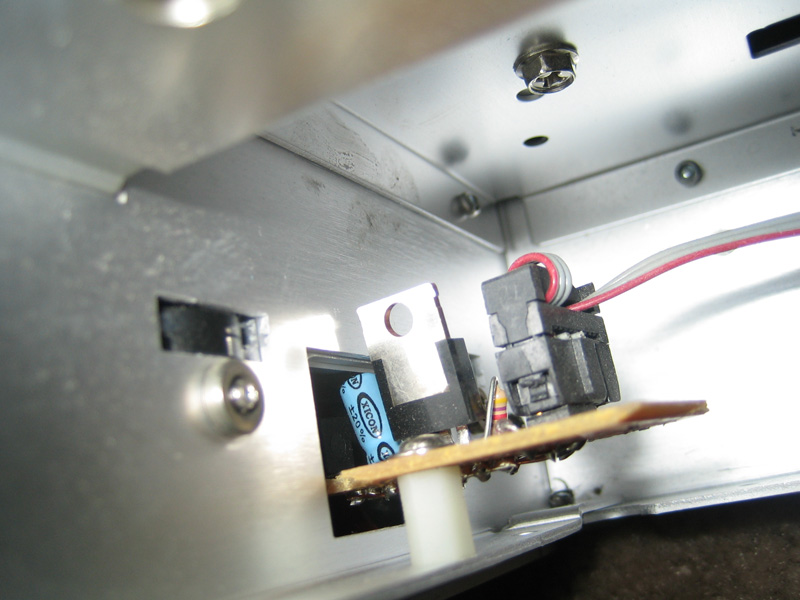
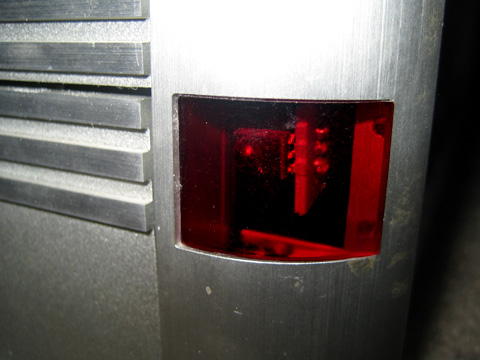
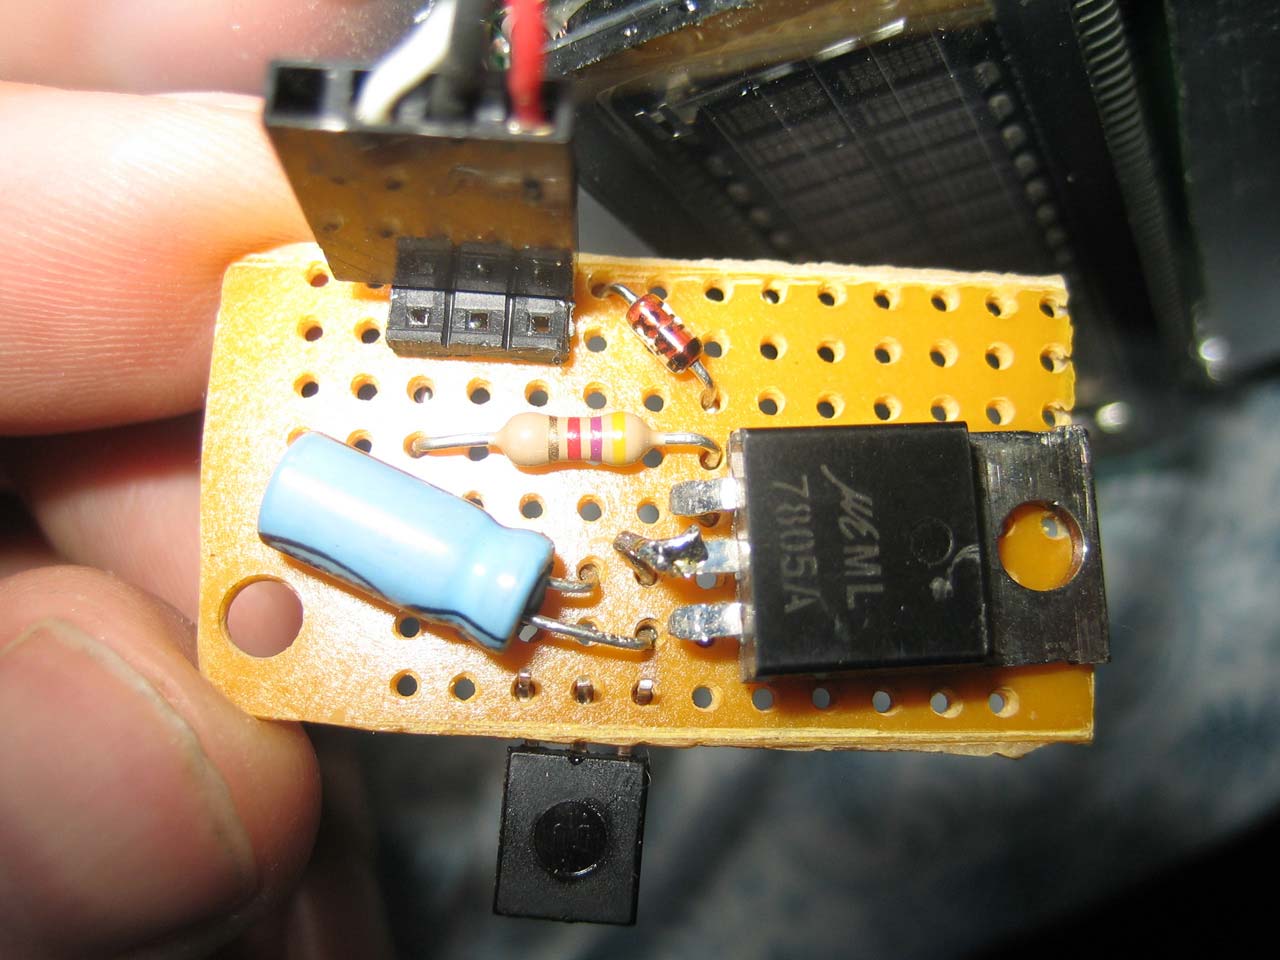
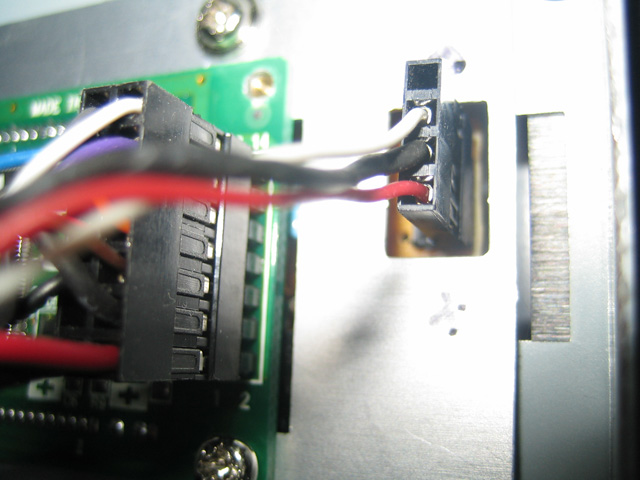
| + | == Sample Images == | ||
| + | |||
| + | [[Image:ir_receiver1_pcb_front.jpg]] | ||
| + | [[Image:Ir receiver1 pcb1b.jpg]] | ||
| + | [[Image:ir_receiver1_pcb_side_b.jpg]] | ||
| + | [[Image:ir_receiver1_mounted.jpg]] | ||
| + | [[Image:ir_receiver1_window.jpg]] | ||
| + | |||
| + | |||
| + | |||
| + | [[Image:Ir receiver2 pcb2a.jpg]] | ||
| + | [[Image:ir_receiver2_mounted1.jpg]] | ||
| + | [[Image:Ir receiver2 mounted3.jpg]] | ||
| + | [[Image:ir_receiver2_mounted2.jpg]] | ||
| + | [[Image:ir_receiver2_window.jpg]] | ||
| + | [[Image:Vfd mythtv menu.jpg]] | ||
| + | |||
| + | == Homebrew rev 3 == | ||
| + | I got tired of making a custom IR Receiver for every case/mobo combo, so I came up with this. | ||
| + | This version is much more portable. The key is the In & Out connectors. This allows for me to move an IR PCB from case to case and only requires the construction of a new cable for input and output. In these images I created a Out connector that will accept the 3/32" jack for the bundled Hauppauge IR Reciever. The PVR-250's are in the backend so the IR modules are usless bacause the backend is in my closet. With this little mod I can now use the Bundled IR Receiver on my [http://www.mythtv.org MythTV] Frontends.<br> | ||
| + | [[Image:Lirc_Homebrew-v3-Front.jpg]] | ||
| + | [[Image:Lirc_Homebrew-v3-Back.jpg]] | ||
| + | [[Image:IR-PCI-Jack.jpg]] | ||
| + | [[Image:IR-PCI-Jack2.jpg]] | ||
| + | [[Image:Lirc_Homebrew-v3-Jack-Back.jpg]] | ||
| + | |||
| + | == Hauppauge IR Pinout == | ||
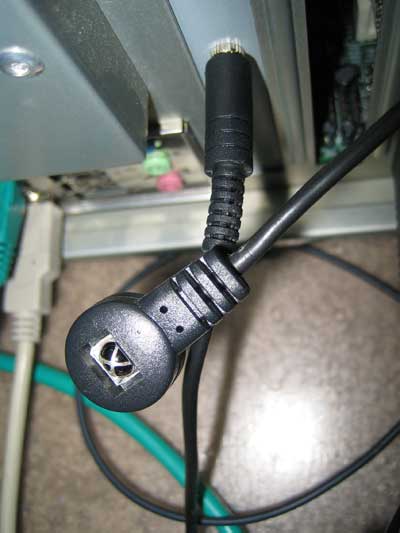
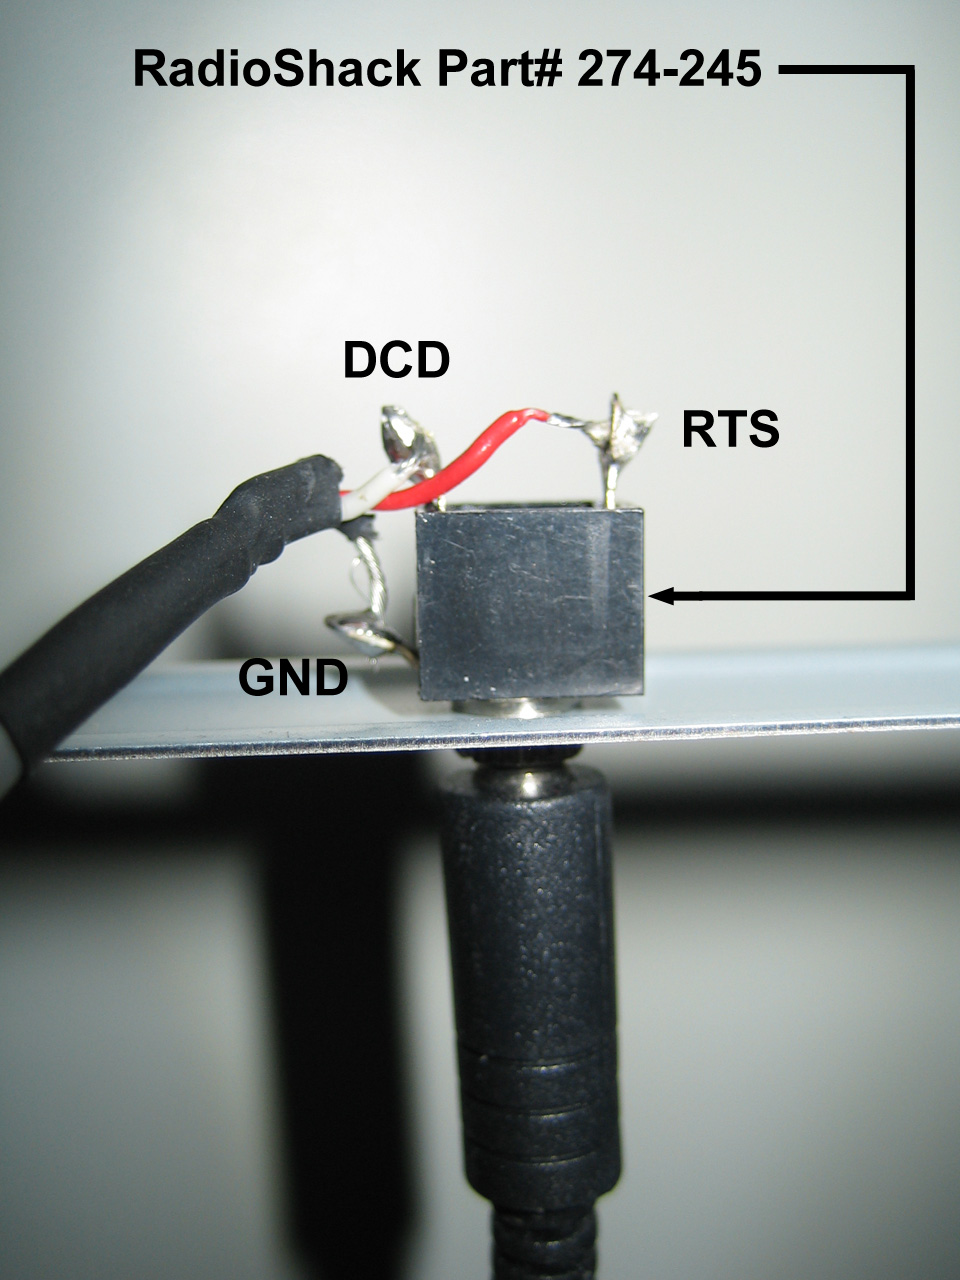
| + | If you are like me and have your Hauppauge Tunners in your backend, then the included receiver doesn't do you much good.<br> | ||
| + | Fortunately you can use the included IR receiver along with the above LIRC Homebrew Serial device.<br> | ||
| + | [[Image:PVR-250-IR-PinOut.jpg]] | ||
[[Category:LIRC]] | [[Category:LIRC]] | ||
Latest revision as of 07:11, 30 May 2010
Contents
Parts List
IR Reciever Module
- RadioShack Part# 276-640
4.7uF Electrolytic Capacitor
- RadioShack Part# 272-1024
+5V Voltage Regulator
- RadioShack Part# 276-1770
4k7 Resistor
- RadioShack Part# 271-1330
1N4148 Diode
- RadioShack Part# 276-1122
9pin Serial Connector & Hood
Alternate Part#
(Note: I used an old serial mouse cord for this. 3pin CD Audio Cables also work well)
Optional Parts and Equipment
Mini PC Board
- RadioShack Part# 276-148
Project Box
- RadioShack Part# 270-1801
15w Soldering Iron
- RadioShack Part# 64-2051
Rosin Core Solder
- RadioShack Part# 64-017
Wire
- RadioShack Part# 278-858
(Note: this is 20' of 4 conductor wire, you won't need this much)
Diagram
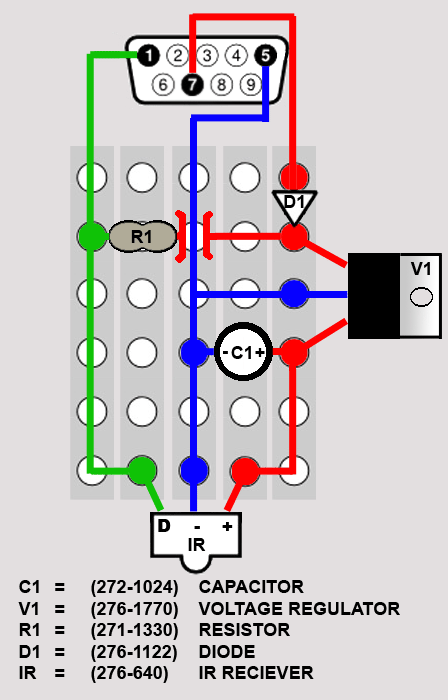
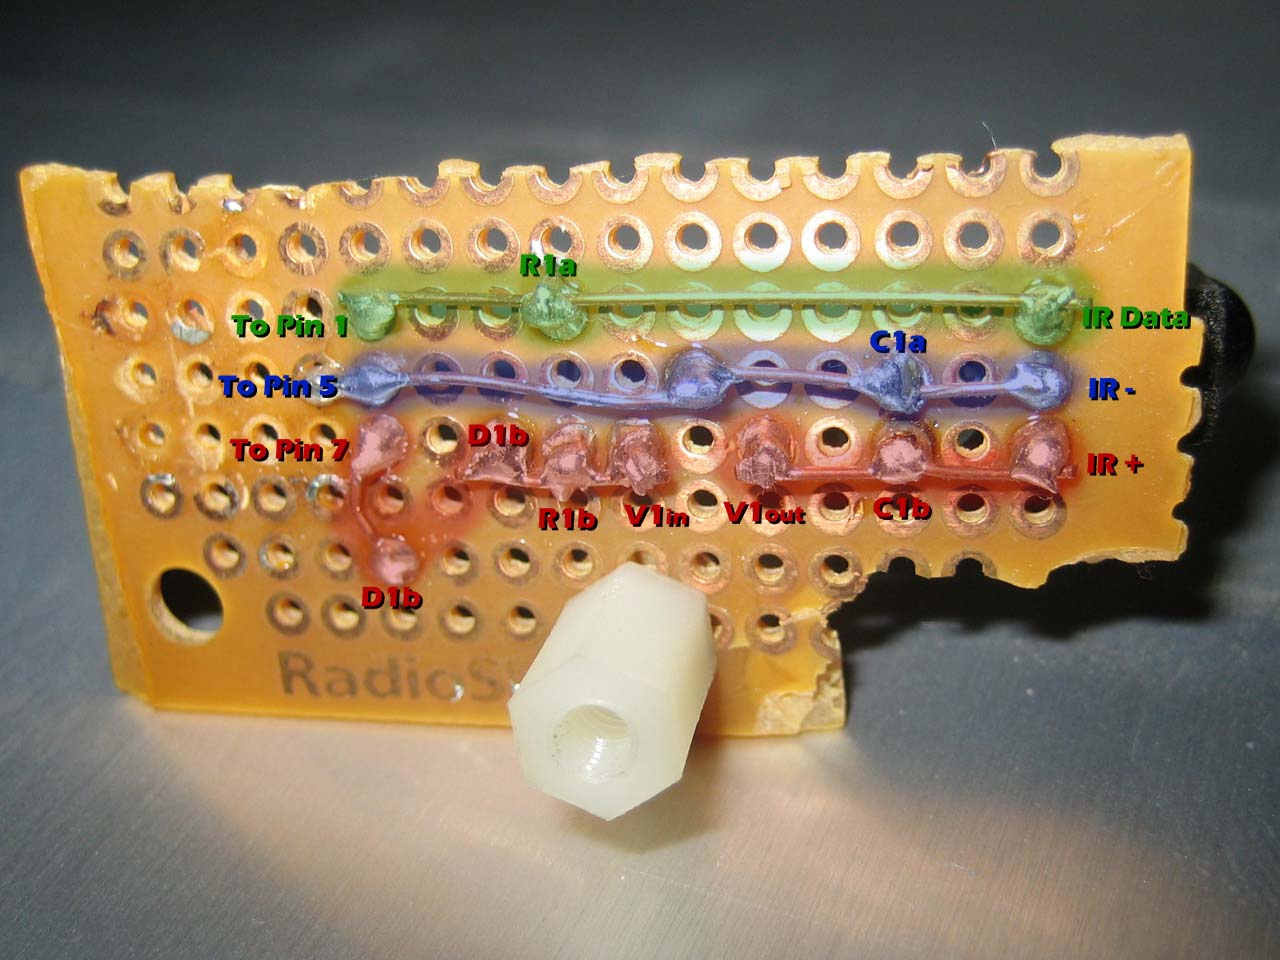
Note:
Pin 1 = DCD
Pin 5 = GND
Pin 7 = RTS
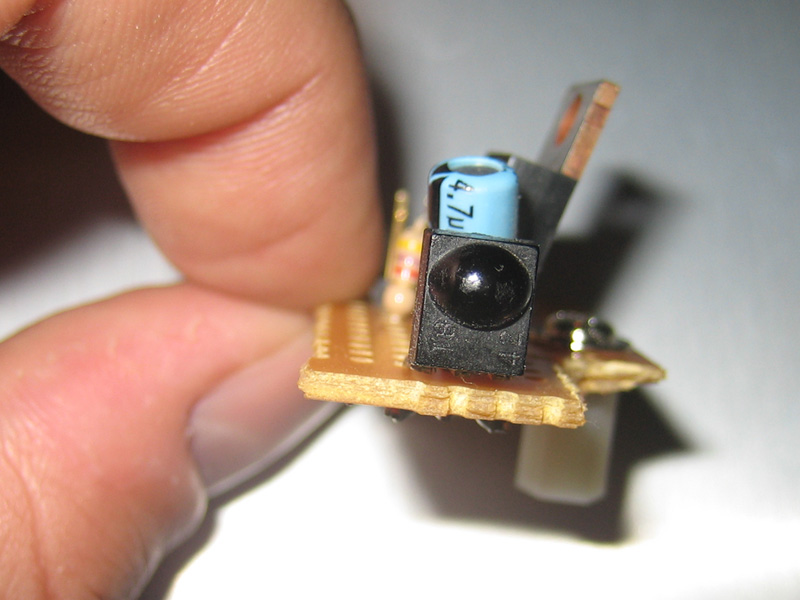
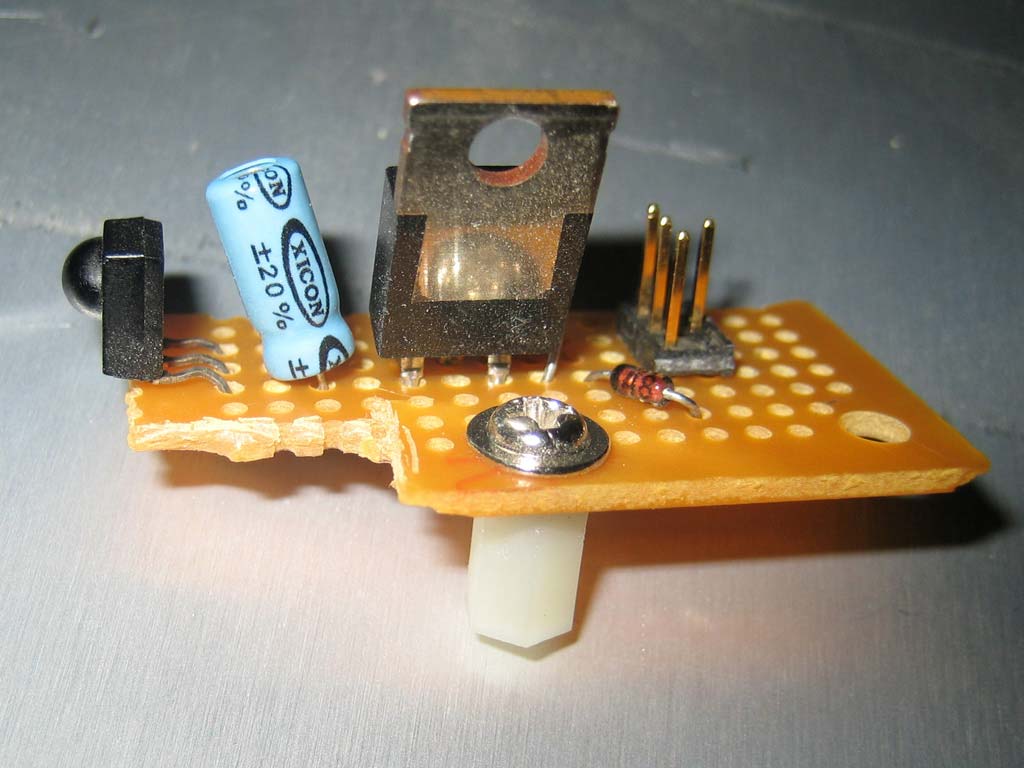
Sample Images
Homebrew rev 3
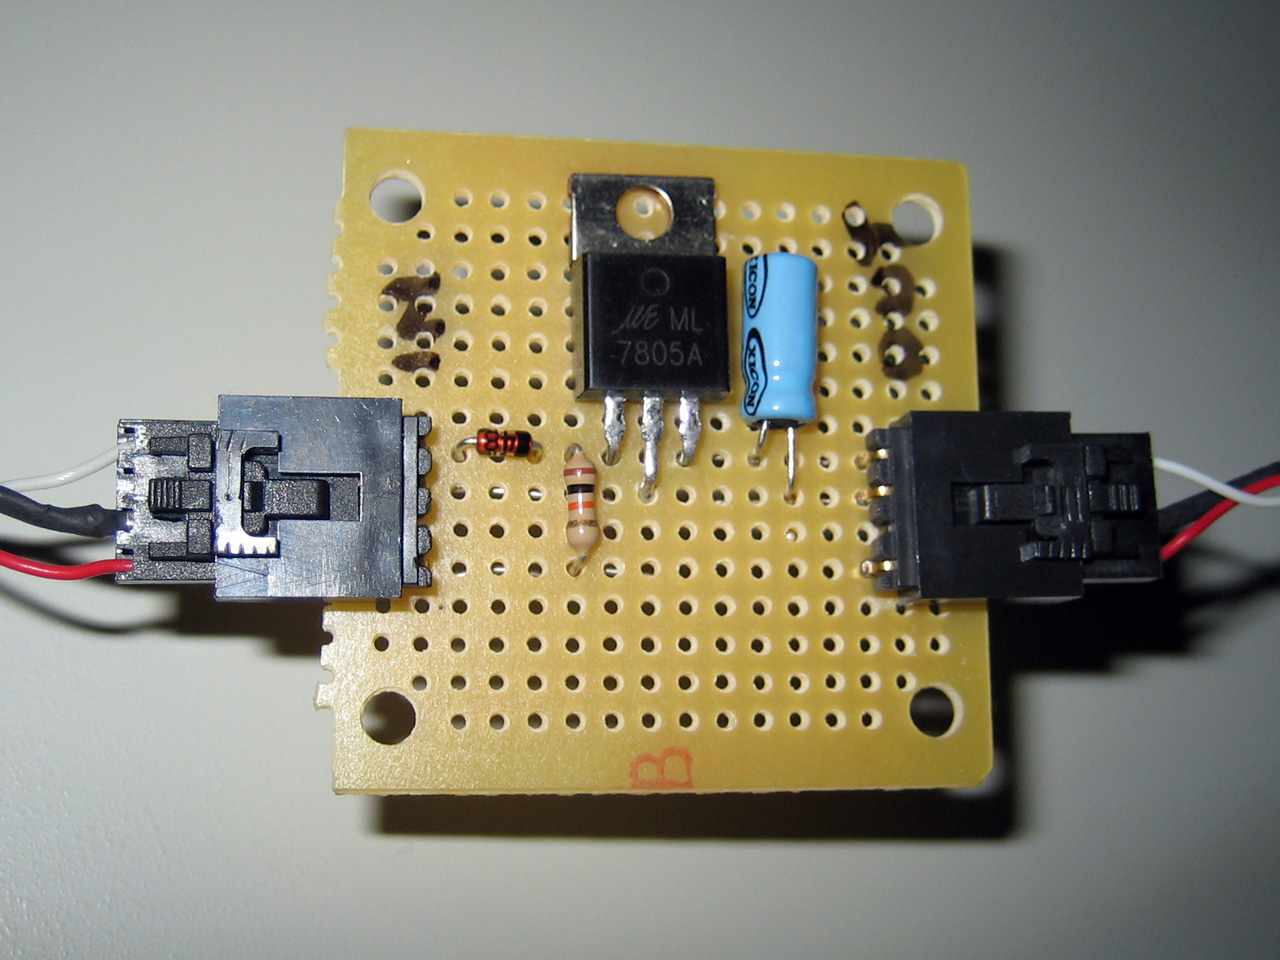
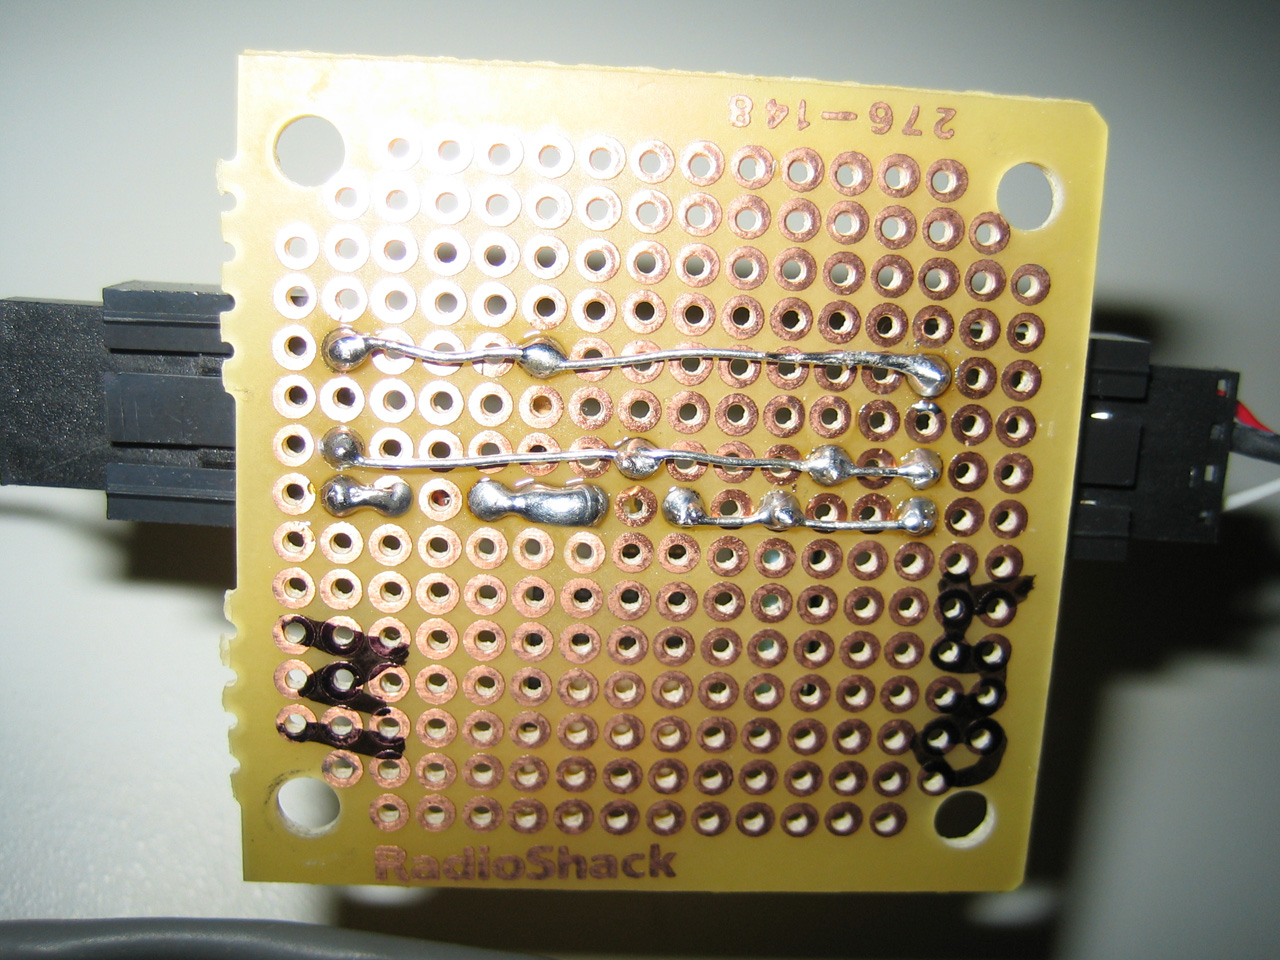
I got tired of making a custom IR Receiver for every case/mobo combo, so I came up with this.
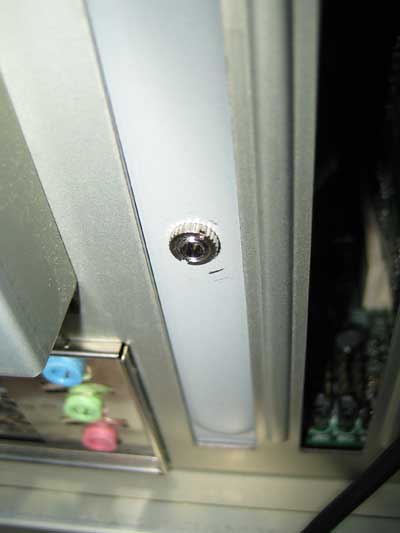
This version is much more portable. The key is the In & Out connectors. This allows for me to move an IR PCB from case to case and only requires the construction of a new cable for input and output. In these images I created a Out connector that will accept the 3/32" jack for the bundled Hauppauge IR Reciever. The PVR-250's are in the backend so the IR modules are usless bacause the backend is in my closet. With this little mod I can now use the Bundled IR Receiver on my MythTV Frontends.
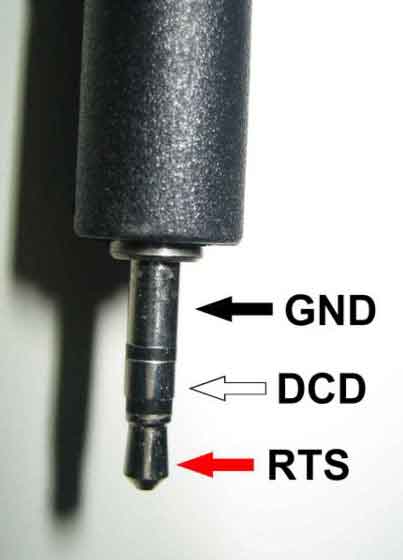
Hauppauge IR Pinout
If you are like me and have your Hauppauge Tunners in your backend, then the included receiver doesn't do you much good.
Fortunately you can use the included IR receiver along with the above LIRC Homebrew Serial device.
